Managing your website in the Hosting Panel
Learn how to manage your website and email from one convenient interface in the hosting.com Hosting Panel.
Some newer hosting accounts use an administration interface directly within the hosting.com Hosting Panel. Unlike cPanel, there is no separate login — you just log in to your hosting.com account at https://my.hosting.com and control your web site, email, and WordPress from one unified interface.
This article provides an overview on how to use this administration interface, and applies to the following account types:
- Starter Web Hosting
- Plus Web Hosting
- Pro Web Hosting
- Max Web Hosting
Logging in
To log in, follow these steps:
-
Log in to the Hosting Panel at https://my.hosting.com.
-
In the left sidebar, under Products & Services, click Hosting & Servers:
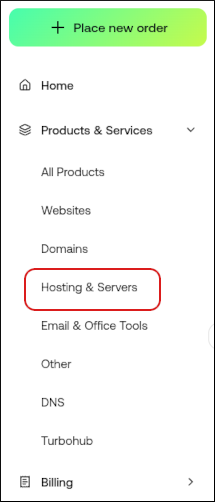
-
On the Hosting & Servers page, locate your shared hosting account, and then click Login to Control Panel. You are automatically logged in to the control panel.
Managing your website
You can configure applications, set up email accounts, manage your files, view site analytics, and much more. To do this, follow these steps:
-
Log in to your account as described in the Logging in section above.
-
When the control panel appears, in the left sidebar, click Websites:
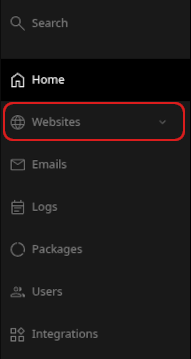
-
On the Manage websites page, click the website you want to manage.
-
A list of tabs appears at the top of the page:

Let's go through each of these tabs. -
The Apps tab is where you can install applications. To do this, click Install app, select the settings you want, and then click Install:
 Note
NoteOnly WordPress is supported at this time. You can install other applications manually.
-
The Files tab is where you manage your files. You can download, edit, delete, and do many other operations on your files:
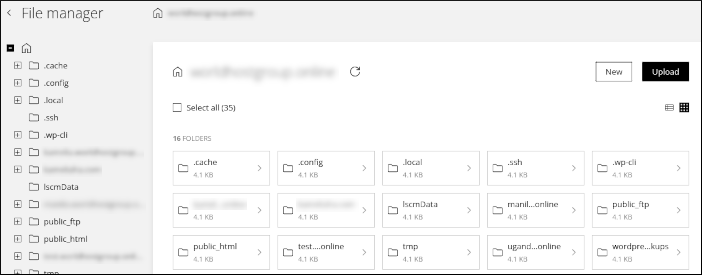 Tip
TipFor more information about how to manage your website files, please see Managing your website files in the Hosting Panel.
-
The Databases tab is where you manage your MySQL databases. You can add, modify, and delete databases and users, and more. (phpMyAdmin is also available here.) To get started, click Add database:
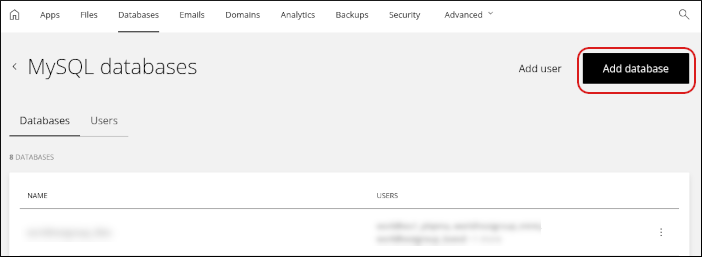 Tip
TipFor more information about how to manage your MySQL databases, please see Managing your MySQL databases in the Hosting Panel.
-
The Emails tab is where you configure your email accounts. You can add, modify, and delete email accounts, and more.
TipFor more information about how to manage your email accounts, please see Managing your email in the Hosting Panel.
-
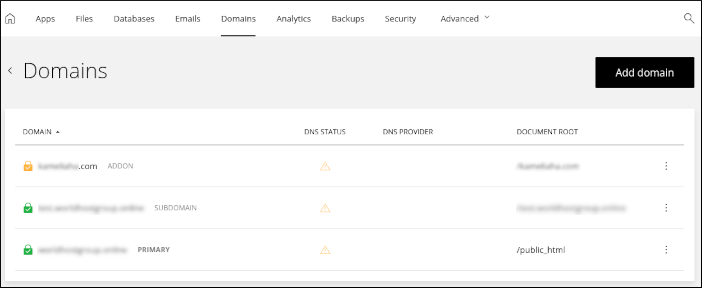
The Domains tab is where you manage your domains. You can add subdomains, addon domains, and aliases. You can also configure domain settings, such as the document root directory, DNS settings, and more:
 Tip
TipFor more information about how to manage your domains, please see Managing your domains in the Hosting Panel.
-
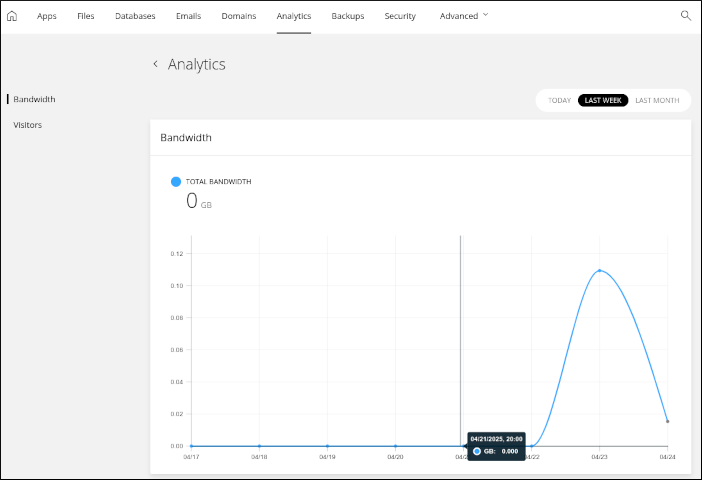
The Analytics tab is where you can view bandwidth usage and visitor stats for your website. You can view statistics for today, last week, or last month:
-
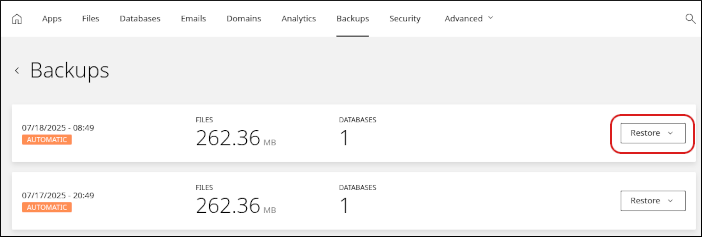
The Backups tab is where you manage automatic backups and restores. To restore from a backup, click Restore and then click what you want to restore. You can selectively restore some or all of the following items:
- Email.
- Website files.
- A custom collection of items, including email, website files, and any databases you may have.
 Tip
TipFor more information about how to manage backups, please see Managing backups in the Hosting Panel.
-
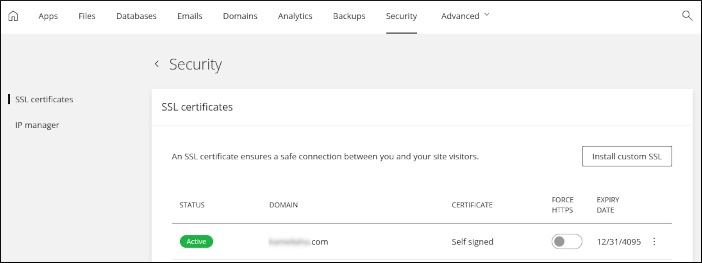
The Security tab is where you manage SSL certificates for your site, and allow or block specific IP addresses:
 Tip
TipFor more information about how to install an SSL certificate, please see Installing an SSL certificate in the Hosting Panel.
-
The Advanced tab contains several additional tools:
-
Redirects: You can add permanent (301) or temporary (302) redirects to forward visitors to another domain.
-
Optimization: You can enable Opcode caching for your site.
-
FTP: You can add, modify, and delete FTP accounts.
TipFor more information about how to manage your FTP accounts, please see Managing FTP accounts in the Hosting Panel.
-
Developer tools: You can access several advanced settings here, including PHP settings and cron jobs. You can also view and configure SSH connection details for your account.
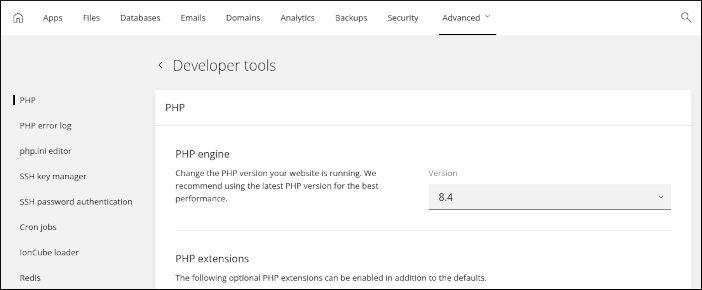 Tip
Tip- For information about how to change PHP versions and settings, please see Changing PHP versions and settings in the Hosting Panel.
- For information about how to configure SSH access, please see Configuring SSH access in the Hosting Panel.
-