How to back up and restore a database for Rocket.net Managed WordPress
Learn how to back up and restore a database for Rocket.net Managed WordPress.
The most critical data for your website is located in its database: your site settings, user accounts, posts, comments, and more.
When you want to edit something on your website and are concerned that you might make a mistake, manually generating a database-only backup just before you make any changes is always a good idea. If something goes wrong, restoring the database backup you made can be accomplished quickly from the Backups area of the Rocket Dashboard.
To create a database-only backup from the Rocket Dashboard, follow these steps:
-
Log in to the Hosting Panel at https://my.hosting.com.
-
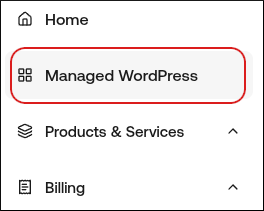
In the left sidebar, click Managed WordPress:
-
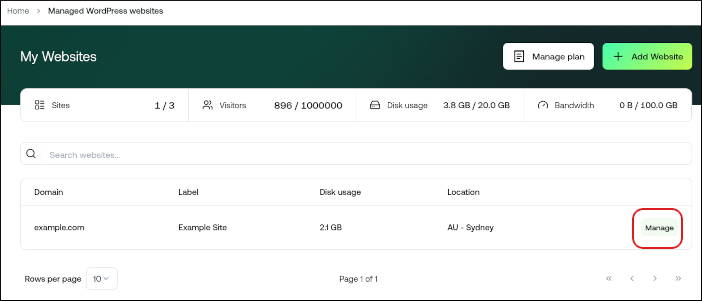
On the My Websites page, locate the site, and then click Manage:
-
On the Rocket dashboard, click the Backups icon.
-
In the Manual Backups section, click Create Backup.
-
Type a name for your backup, and then select the Backup Database check box. Make sure you do not select the Backup Files check box.
Note
-
Depending on the size of your website's database, this process may only take a few moments. You can either visit this page later or wait a few moments and then refresh the page.
-
When your database backup is ready, you'll find it listed here with several options. You can download it to your computer for safekeeping, restore a backup, or delete backups to free up account storage if needed.
-
Please make sure to take note of the database backup you just created. You can make any changes to your content as needed without worry now. If anything goes wrong, you can re-visit the Backups area, locate that database backup, and choose the Restore option to restore the database if needed.
-
Updated about 10 hours ago