How to configure DNS settings for hosting.com Managed WordPress at any provider
Learn how to configure DNS settings for hosting.com Managed WordPress at any DNS provider.
To use your hosting.com Managed WordPress site with any DNS provider not documented in our Knowledge Base (such as Google Domains, Register.com, BlueHost, Hostgator, etc.), you do the following:
- Edit the A record for the apex domain (the domain without www, such as example.com).
- Edit the CNAME record for www.example.com.
To do this, follow these steps:
-
Locate your site URL on the hosting.com Dashboard:
-
Log in to the Hosting Panel at https://my.hosting.com.
-
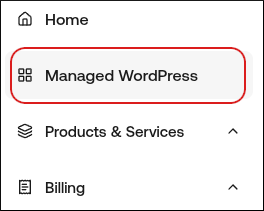
In the left sidebar, click Managed WordPress:
-
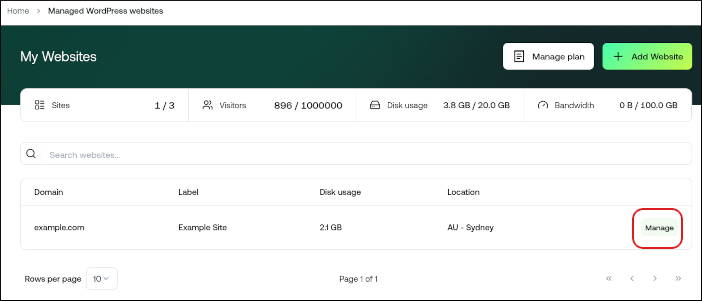
On the My Websites page, locate the site, and then click Manage:
-
The site URL appears at the top of the page (for example, abc123.onrocket.site).
-
-
Log in to your DNS provider account.
-
Update your domain's DNS records:
-
For site URLs that end in onrocket.site, use the following values:
-
A records for example.com: 104.19.154.92 and 104.19.155.92
-
CNAME record for www.example.com: ___.onrocket.site
NoteSome providers may only let you use one A record. In this case, use 104.19.154.92.
-
-
For site URLs that end in wpdns.site, use the following values:
-
A records for example.com: 104.18.211.89 and 104.18.185.50
-
CNAME record for www.example.com: ___.wpdns.site
-
NoteIt may take up to 24 hours for DNS to fully propagate around the world. However, typically these changes take place in just a few minutes.
-
Updated 5 months ago