How to manage your site on Rocket.net Managed WordPress
Learn how to use the Rocket Dashboard to manage your websites quickly and easily.
When you log in to your Rocket.net Managed WordPress account, you can immediately see an overview of your WordPress sites, total visits for the month, disk and bandwidth usage, and updates that we send out regularly.
Accessing the Rocket Dashboard
To access the Rocket Dashboard for a site, follow these steps:
-
Log in to the Hosting Panel at https://my.hosting.com.
-
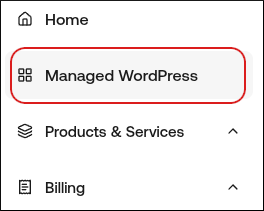
In the left sidebar, click Managed WordPress:
-
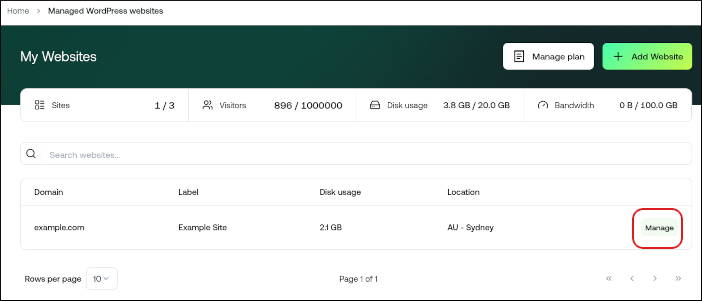
On the My Websites page, locate the site, and then click Manage:
-
The Rocket Dashboard appears with several tabs:
- Overview
- Plugins
- Themes
- File Manager
- Backups
- Logs
- Reporting
- Security
- Advanced
The following sections describe each of these tabs in greater detail.
The Overview tab
On the Overview tab, you can find all of your website information and account features, including:
- Domain name.
- One-click WordPress admin dashboard login.
- Clear the cache.
- Plugins, themes, and backups overview.
- CDN and WAF reports.
- Advanced settings.
Clearing the cache
To clear your website cache, click Clear Cache.
Note
For more information about this feature, go to Manually purging the CDN cache for Rocket.net Managed WordPress.
One-click WordPress login
To log in to the WordPress admin dashboard directly, click WP Admin.
Note
For more information about this feature, go to How to log in to your WordPress admin area on Rocket.net Managed WordPress.
Staging website creation
There are Live and Staging status indicators to remind you which site you are currently managing.
You can easily change between your production environment and staging environment using the drop-down menu.
Staging environments give you a playground to test new plugins and themes, the latest PHP versions, code modifications, and other changes. When you create a staging site it is a copy of your live site. When you’re ready, you can send all changes back to your live site with the click of a button.
To create a staging site, click Production Mode from the drop-down menu at the top right, and then click Staging Mode. If a staging environment doesn’t already exist, then click Create Staging.
Note
For more information about how to create a staging site, go to How to create a staging site for Rocket.net Managed WordPress.
The Plugins tab
On the Plugins tab is a list of all of your installed WordPress plugins, both activated and inactive. You can view the current version number, as well as if there are any updates available. Also, you can install and activate a plugin without logging in to the WordPress admin dashboard.
Note
For more information about how to manage plugins from the Rocket.net Dashboard, go to:
The Themes tab
On the Themes tab is a list of all of your installed WordPress themes, both activated and inactive. You can view the current version number, as well as if there are any updates available. Also, you can install and activate a theme without logging in to the WordPress admin dashboard.
Note
For more information about how to manage themes from the Rocket.net Dashboard, go to:
The File Manager tab
On the File Manager tab, you can edit, upload, download, and delete your website files.
The Backups tab
The Backups tab is divided into two sections:
- Manual: You can create as many manual backups as you want, depending on your disk space. These are recommended when you’re rolling out a change on your live site which perhaps couldn’t be tested on staging.
- Automated Backups: Rocket.net creates an automatic system backup every day.
Note
For more information about how to manage backups and restores from the Rocket.net Dashboard, go to:
The Logs tab
On the Logs tab, you can enable and view logging for:
- Activity Log
- Access Log
- WAF Log
The Reporting tab
On the Reporting tab, you can view detailed reporting for the WAF (Web Application Firewall) and CDN (Content Delivery Network).
The Security tab
On the Security tab, you can lock your site to prevent any updates to your site's files and database. For example, if you have a site with static content, this feature helps increase site security. On the other hand, if you have a site dynamic content (such as an e-commerce site), you should not enable this feature.
The Advanced tab
On the Advanced tab, you can:
- Manage your database.
- Access WP-CLI for a command-line interface to WordPress.
- Select the active PHP version for your site.
- Enable SSH access.
- Enable or disable automatic updates for WordPress core, themes, and plugins.
- Delete the website.
Note
For more information about these features, go to:
Updated about 10 hours ago