Manually purging the CDN cache for Rocket.net Managed WordPress
Learn how to manually purge the CDN (Content Delivery Network) cache for Rocket.net Managed WordPress.
On Rocket.net Managed WordPress, everything is configured to be cached by default, including full pages and HTML. We’re able to do this very intelligently without requiring any special plugins or configuration.
Managing the Rocket.net CDN cache
By default, every WordPress install comes with a Must Use plugin to automatically purge the cache when events happen in your site. For example, updating a page, post, deleting a post, updating a plugin, etc. Our plugin automatically purges the cache as these events happen, so in most cases there isn’t a need to manually purge the cache.
There may be some cases, however, where you need to manually purge the cache. There are two ways to achieve this.
Purging the cache in WP-Admin
In the WP-Admin toolbar is an item labeled CDN Cache. As you hover over this item, two options to manage the CDN cache appear:
- Purge Everything: This option clears the cache for your entire site.
- Custom Purge: This option enables you to only purge specific URLs. This can be useful if you want to preserve your site’s cache, but refresh just a single page or element.
In the box above, type the URI’s you want to purge as seen in the example. Our platform automatically adds the domain name.
For example, if you want to purge the cache for https://example.com/path/to/cached/page, type /path/to/cached/page in the the Custom Purge form, and then click Submit.
Purging the cache from the Rocket Control Panel
You can also purge your site's cache completely from the Rocket.net Control Panel. To do this, follow these steps:
-
Log in to the Hosting Panel at https://my.hosting.com.
-
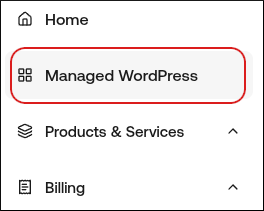
In the left sidebar, click Managed WordPress:
-
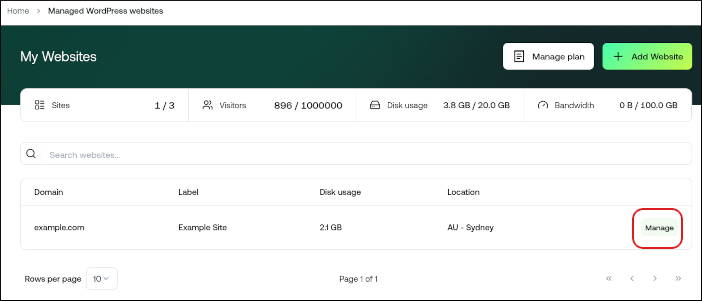
On the My Websites page, locate the site, and then click Manage:
-
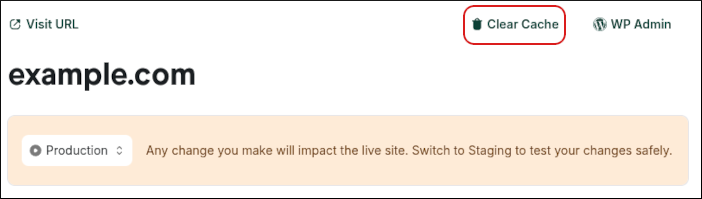
At the top right of the page, click Clear Cache:
Updated about 10 hours ago