How to manage your databases with phpMyAdmin on Rocket.net Managed WordPress
Learn how to manage your WordPress databases from the Rocket Dashboard.
While managing your WordPress sites hosted on Rocket.net Managed WordPress, you may need to edit the databases directly. You can do this easily from the Rocket Dashboard using phpMyAdmin.
Important
Before you edit a database directly, we strongly recommend creating a backup of it first. For information about how to do this, go to How to back up and restore a database for Rocket.net Managed WordPress.
To access phpMyAdmin and your databases from the Rocket Dashboard, follow these steps:
-
Log in to the Hosting Panel at https://my.hosting.com.
-
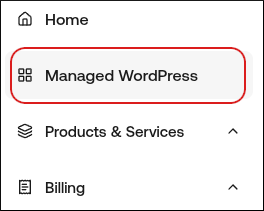
In the left sidebar, click Managed WordPress:
-
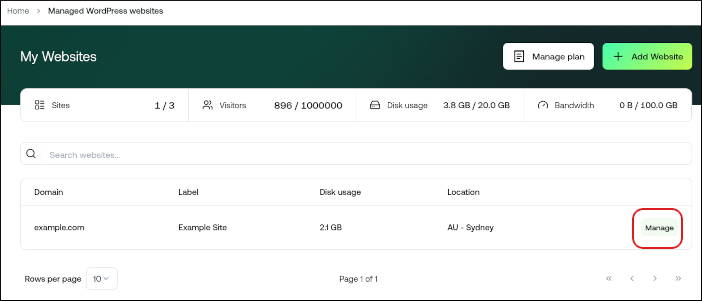
On the My Websites page, locate the site, and then click Manage:
-
On the Rocket dashboard, click the Advanced icon.
-
In the Advanced Settings section, in the Database Management row, click phpMyAdmin. phpMyAdmin opens in a new tab.
Tip
For information about how to use phpMyAdmin, go to the official documentation at https://docs.phpmyadmin.net/en/latest/.
Updated about 4 hours ago