How to use the File Manager on Rocket.net Managed WordPress
Learn how to use the File Manager to do basic file management tasks on Rocket.net Managed WordPress
You can use the File Manager on the Rocket Dashboard to do basic file management tasks without having to open an FTP client or even log in to the WordPress admin dashboard.
To access the File Manager from the Rocket Dashboard, follow these steps:
-
Log in to the Hosting Panel at https://my.hosting.com.
-
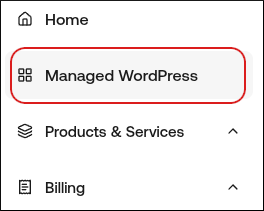
In the left sidebar, click Managed WordPress:
-
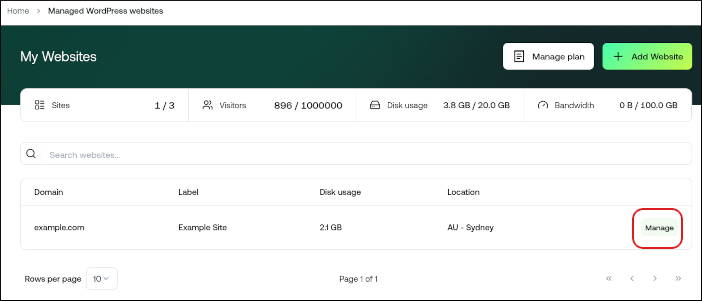
On the My Websites page, locate the site, and then click Manage:
-
On the Rocket dashboard, click the File Manager icon.
-
A file list appears with columns for file name, size, date, and permissions. In the Actions column is a three-dot icon. You can click the three-dot icon, and then click an action:
- View/Edit: Use this option to load the file in an editor in your browser. From the editor, you can download the file, save any changes you make to the file, or just close the file and go back to the File Manager.
- Download: Use this option to download the file to your local computer.
- Copy link: Use this option to obtain a full URL to the file or folder (for example, https://example.wpdns.site/index.php).
- Delete: Use this option to delete the file.
-
To search for a file, in the Search Files text box type the filename (or partial filename).
-
To upload a file to your website, click Upload.
-
To create a new file or folder, click the three-dot icon next to Upload, and then click Create Folder or Create File.
-
Initially, the File Manager only lists 10 files at a time. To display more files, scroll to the bottom of the page, click 10 per page, and then click 20 per page or 50 per page.
Tip
If you require a more extensive feature set for managing your files, we recommend setting up an FTP account.
Updated about 4 hours ago