Using WP-CLI in the Rocket Dashboard
Learn how to access and use the WordPress command-line tool WP-CLI in the Rocket Dashboard.
With our unique WordPress command-line interface terminal, using WP-CLI has never been easier! No longer do you need to be a Linux pro to make use of the powerful WP-CLI tool set.
Tip
Before you use WP-CLI, please read the release announcement at the Rocket.net blog for an overview and some basic information about how to use it.
Accessing WP-CLI
To access WP-CLI from the Rocket Dashboard, follow these steps:
-
Log in to the Hosting Panel at https://my.hosting.com.
-
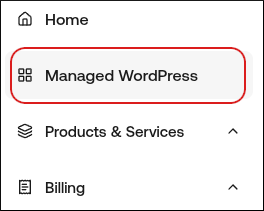
In the left sidebar, click Managed WordPress:
-
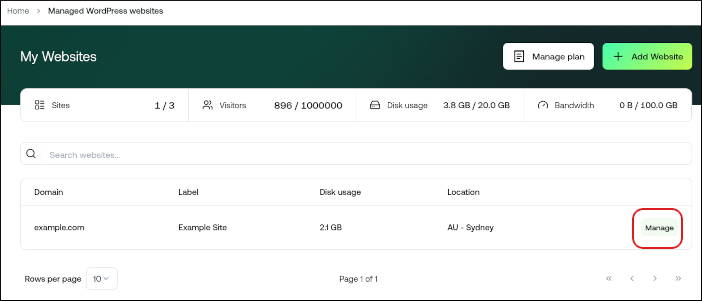
On the My Websites page, locate the site, and then click Manage:
-
On the Rocket dashboard, click the Advanced icon.
-
In the Advanced Settings section, in the WP Command Line Interface row, click WP-CLI.
-
The WP-CLI terminal appears, ready for your commands.
Using WP-CLI
The WP-CLI Terminal is not the same as an SSH command prompt. The only command available is wp with another command called an "argument" after it. For example:
wp theme list
wp plugin list
wp user list
The wp command invokes WP-CLI, and [item] list displays lists of each of those items.
One of the most powerful tools available in WP-CLI is the search-replace command, which allows you to search the database for any text and replace it.
For example, the following command changes references from an old domain name (example.net) to a new domain name (example.com):
wp search-replace 'https://example.net' 'https://example.com'
Important
You should not use this command to change a site’s domain name. The example above refers to an arbitrary URL in the database.
In some cases, you may need to use the options –all-tables and –precise to instruct WP-CLI to search the entire database. You may also want to add the –dry-run option at the end so you can test the command without making any actual replacements in the database.
Updated about 3 hours ago