Step 1: Generate an SSH key pair
To access WP-CLI from the command line, you must first create an SSH key pair for your account. To do this, follow these steps:- Open your system’s terminal or command-line tool:
- Microsoft Windows: Use Command Prompt or PowerShell.
- Apple macOS and Linux: Use Terminal.
- At the command prompt, type the following command:
- When you are prompted:
i. Press Enter to accept the default location (usually ~/.ssh/id_rsa or similar).
ii. Leave the passphrase empty. - After the key pair is generated, to view and copy your public key type the following command:
You will need the public key in the next procedure.
Step 2: Add the public key in the hosting.com Dashboard
To add your public key in the hosting.com Dashboard, follow these steps:- Log in to the Hosting Panel at https://my.hosting.com.
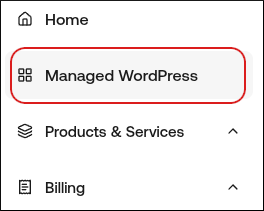
- In the left sidebar, click Managed WordPress:
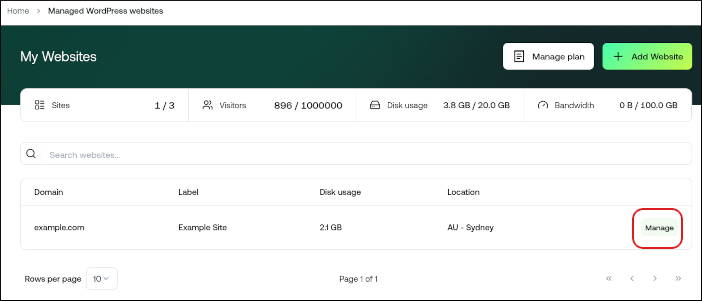
- On the My Websites page, locate the site for which you want to enable SSH, and then click Manage:
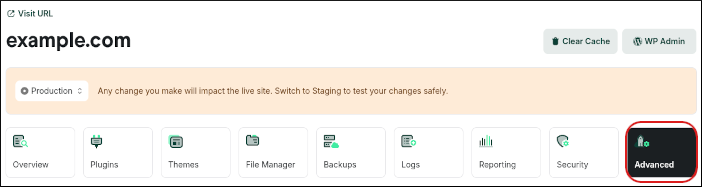
- On the hosting.com dashboard, click the Advanced icon:
- In the Advanced Settings section, click the SSH Access slider if it is not already enabled:

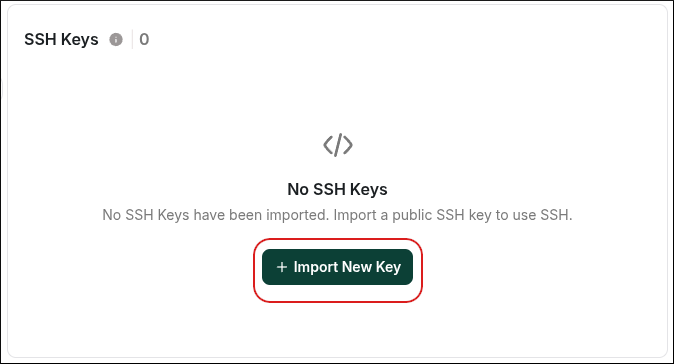
- Scroll down to the SSH Keys section, and then click Import New Key:
- In the Import New Key dialog box, in the Key Name text box, type a descriptive name for the key:
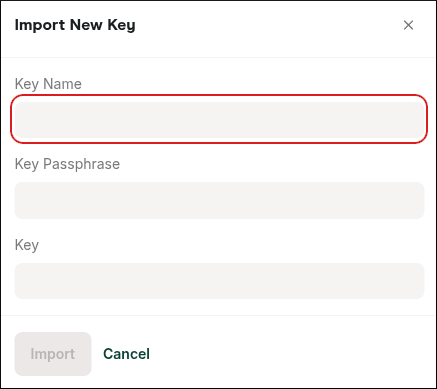
- In the Key Passphrase text box, type the passphrase for the key. If you did not create a key passphrase when you generated the key, then leave the Key Passphrase text box blank.
- In the Key text box, paste the public key.
- Click Import.
- After you import the key, authorize it by clicking the three-dots menu next to the key and selecting Authorize.
Step 3: Connect to the server and run WP-CLI
You’re ready to connect to the server and run WP-CLI. To do this, you need your SSH username and server IP address.You can find the SSH username and server IP address on the General tab in the Site Information section, just above the FTP Accounts section:
If this is the first time you are connecting to your account, you may receive a warning message. Type
y and press Enter.