Managing the CDN cache
By default, every WordPress install comes with a Must Use plugin to automatically purge the cache when events happen in your site. For example, updating a page, post, deleting a post, updating a plugin, etc. Our plugin automatically purges the cache as these events happen, so in most cases there isn’t a need to manually purge the cache. There may be some cases, however, where you need to manually purge the cache. There are two ways to achieve this.Method #1: Purging the cache from the WordPress admin area
You can purge your site’s cache from the WordPress admin area. To do this, follow these steps:- Log in to the Hosting Panel at https://my.hosting.com.
-
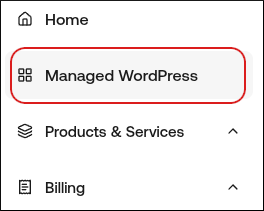
In the left sidebar, click Managed WordPress:
-
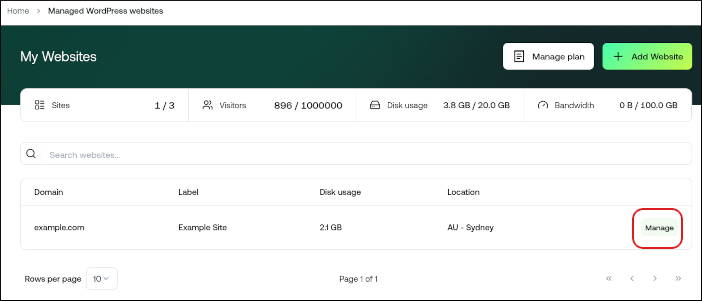
On the My Websites page, locate the site, and then click Manage:
-
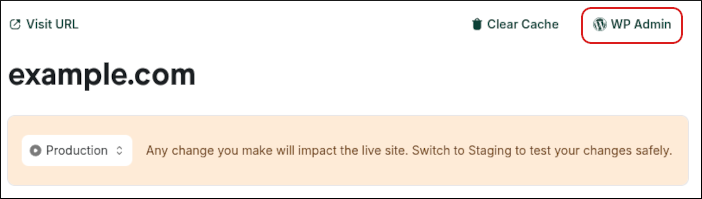
At the top right of the page, click WP Admin:
-
In the WordPress admin area, on the top menu bar, hover over CDN Cache and then click one of the following options:
- Purge Everything: This option clears the cache for your entire site.
-
Custom purge: This option enables you to purge specific URLs. This can be useful if you want to preserve your site’s cache, but refresh just a single page or element.
📘 Note For example, if you want to purge the cache for https://example.com/path/to/cached/page, type
/path/to/cached/pagein the Custom Purge section, and then click Submit.
Method #2: Purging the cache from the hosting.com Dashboard
You can also purge your site’s cache from the hosting.com Dashboard. To do this, follow these steps:- Log in to the Hosting Panel at https://my.hosting.com.
-
In the left sidebar, click Managed WordPress:
-
On the My Websites page, locate the site, and then click Manage:
-
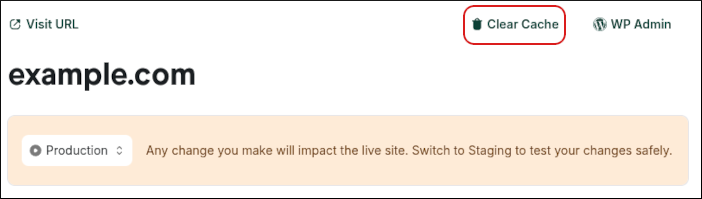
At the top right of the page, click Clear Cache:
-
In the Clear Cache dialog box, select an option:
- Purge Everything: This option clears the cache for your entire site.
-
Purge Specific URL Paths: This option enables you to purge specific URLs. This can be useful if you want to preserve your site’s cache, but refresh just a single page or element.
📘 Note To clear just the index page of a site, type a forward slash (
/).
- Click Purge.