- Log in to the Hosting Panel at https://my.hosting.com.
-
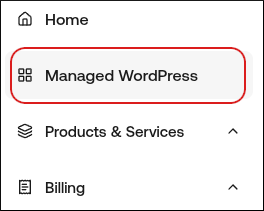
In the left sidebar, click Managed WordPress:
-
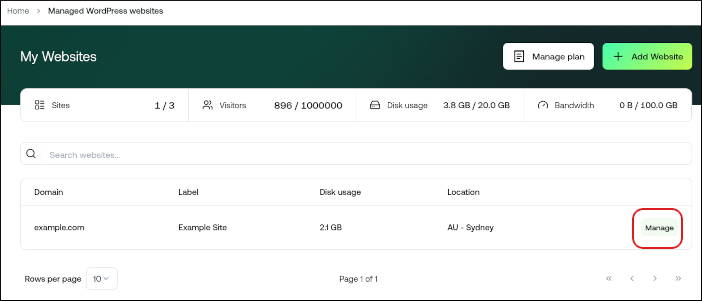
On the My Websites page, locate the site, and then click Manage:
-
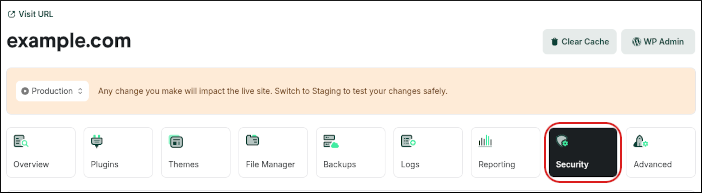
On the hosting.com dashboard, click the Security icon:
-
To lock your site, in the Lock My Site section, click the slider:

📘 Note When your site is locked, no changes can be made to your site’s files and database. For example, if you have a site with static content, this feature helps increase site security. On the other hand, if you have a site with dynamic content (such as an e-commerce site), you should not enable this feature.
-
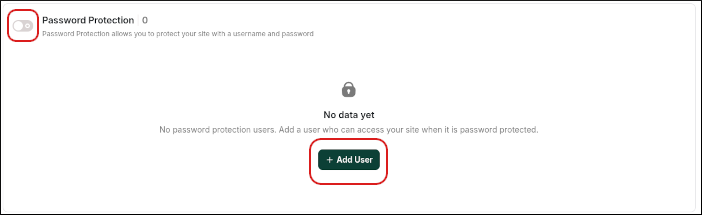
To enable password protection for your site:
-
Click the Password Protection slider, and then click Add User:
-
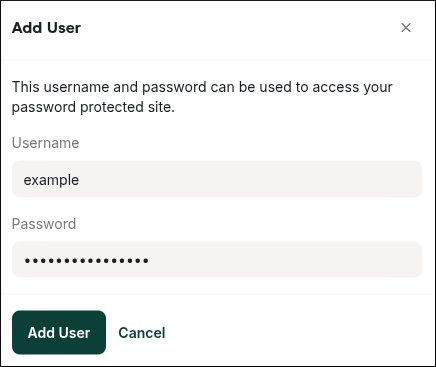
In the Add User dialog box, type the username and password you want to use, and then click Add User:
📘 Note When password protection is enabled, visitors must type a username and password to access your site.
-
Click the Password Protection slider, and then click Add User:
Managed hosting for WordPress powered by Rocket.net
How to manage site security on hosting.com Managed WordPress
Learn how to manage site security settings on hosting.com Managed WordPress.
This article discusses how to manage security settings for your Managed WordPress site.
From the hosting.com Dashboard, you can lock your site to prevent edits and changes, and you can add password protection to your site. To do this, follow these steps: