Installing WooCommerce
To create a new site and install the WooCommerce plugin, follow these steps:- Log in to the Hosting Panel at https://my.hosting.com.
-
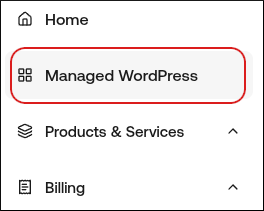
In the left sidebar, click Managed WordPress:
-
On the My Websites page, click Add Website:

-
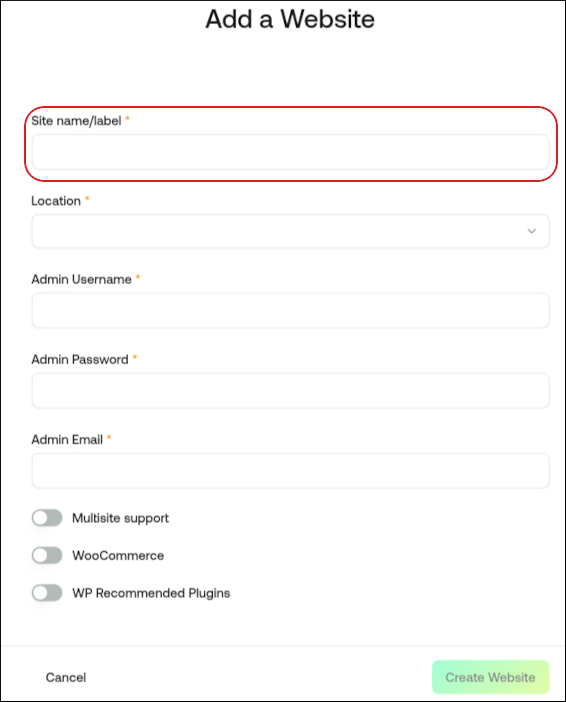
On the Add a Website page, in the Site name/label text box, type your WordPress site’s name:
-
In the Location list box, select the location for your WordPress site.
👍 Tip This selection doesn’t impact your visitors, because they will be using Cloudflare Enterprise. Instead, it should be a location geographically close to you, because your work in the WordPress Dashboard is not cached.
-
In the Admin Username text box, type the admin username you want to use.
🚧 Important You will use this username to log in to your WordPress installation. You can add additional users later on. For greater security, we recommend using a name besides
admin. -
In the Admin Password text box, type a complex password for the admin user.
🚧 Important Never reuse old passwords.
- In the Admin Email text box, type your admin email address to receive important WordPress emails.
- Click the WooCommerce slider.
- Click Create Website. Managed WordPress creates the WordPress site and installs the WooCommerce plugin. You are now ready to activate the WooCommerce plugin.
Activating WooCommerce
To activate the WooCommerce plugin, follow these steps:- Log in to the Hosting Panel at https://my.hosting.com.
-
In the left sidebar, click Managed WordPress:
-
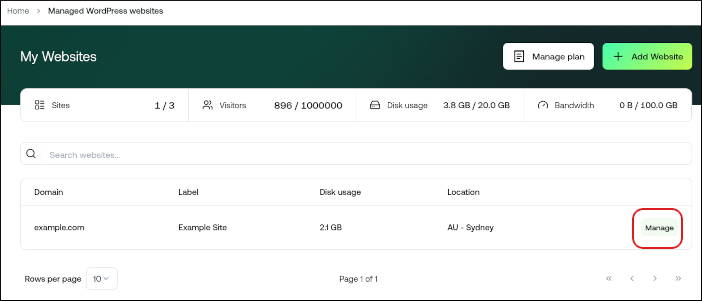
On the My Websites page, locate the site you created in the previous procedure, and then click Manage:
-
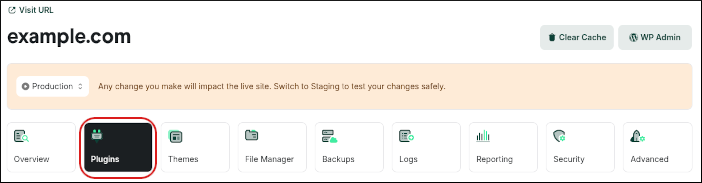
The hosting.com Dashboard appears. Click the Plugins icon:
-
On the Installed Plugins tab appears a list of your installed plugins. Locate the WooCommerce plugin, and then in the Actions column, click the three-dot icon, and then click Activate:

-
In the Activate Plugin dialog box, click Activate. The status changes to Active:

- You are now ready to configure your store in WooCommerce.