Redis memory usage counts toward your account’s total memory limit.
- 1GB total, and you set Redis to 1024MB, you risk:
- Hitting the limit
- Causing slowdowns
- Getting processes killed (including Redis or PHP)
- LVE = 1GB → Redis: 256MB–512MB max
- LVE = 2GB → Redis: 512MB–1GB
- LVE = 4GB → Redis: 1GB–2GB
This applies only to servers on the new infrastructure (domains ending in
.mysecurecloudhost.com or .stableserver.com).Step 1: Access Redis in cPanel
- Log in to your cPanel account.
- Navigate to cPanel → Redis.
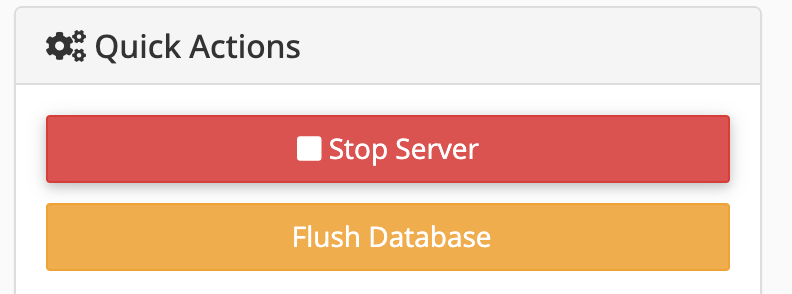
- Ensure your Redis instance is running:
- If it is not running, click Start Redis Server.
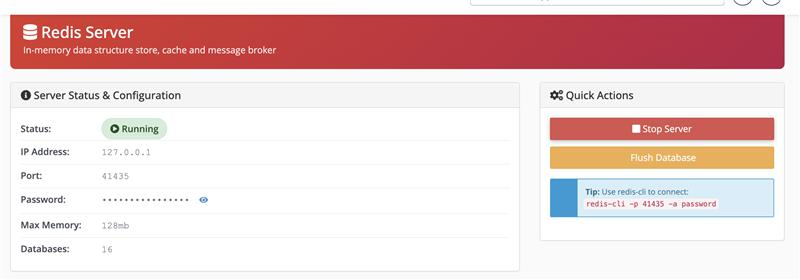
Step 2: Connect to the Redis Instance
To modify Redis configuration, you’ll need to access it via the command line. Use the
redis-cli tool with your instance’s port and password. For example:
Once connected, you will see a prompt similar to:
Step 3: Set the Maximum Memory Limit
To increase the memory allocation, run:This example sets the limit to 1024 MB (1 GB). Adjust the value as needed for your use case.
Step 4: Make the Change Persistent
By default, configuration changes are temporary. To save them permanently, run:This ensures the new memory limit persists after restarts.
Step 5: Verify the Configuration
To confirm the new memory allocation, run:You should see output similar to:
The value is shown in bytes (in this case, 1024 MB = 1073741824 bytes). Restart the Redis server and flush its database.